
Plugin Admin is a built-in plugin manager for Notepad++ which helps to install, update, and remove the plugins. This makes the plugin management job super easy. You can easily install, update and remove any plugin with just a few clicks.
No need to download any plugin file, copy it to the Notepad++ plugins folder. The plugin admin does it for you.
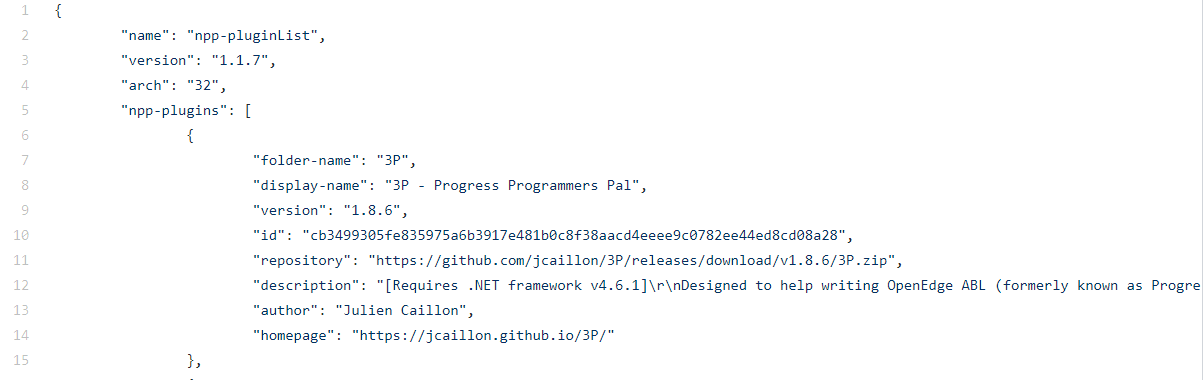
Plugin Admin refers to the plugin list, a central repository on GitHub which maintains a list of plugins and all supporting information like plugin name, version, repository, description, author, and homepage.
Let’s discuss plugin admin and see how you can use it to install, update and remove the plugin.
Note:- There is no need to install plugin admin as it comes as a built-in module in Notepad++ starting from version 7.5. You should check your Notepad++ version and update if the Plugins Admin is not visible in the menu or missing.
Plugin Admin Dashboard
Start Notepad++ and go to Plugins->Plugin Admin… menu to start the admin dashboard as shown in the below image.
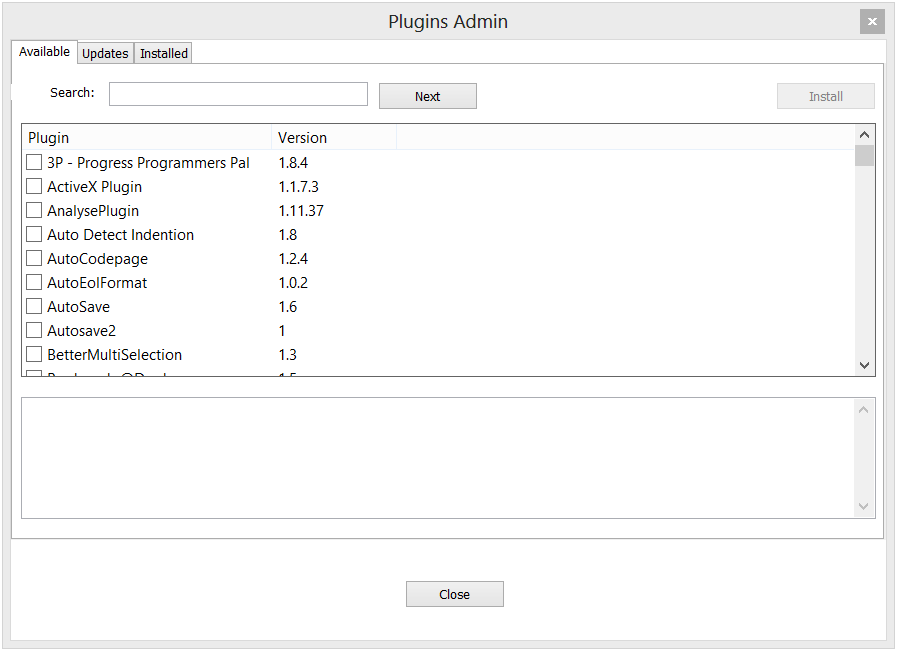
The dashboard interface is neat, clean, and very easy to understand. There are 3 tabs viz Available, Updates, and Installed along with a Search Box and control buttons to install, update, remove and close.
- Available – This tab shows a list of the plugin available to install along with the version and additional information just beneath it.
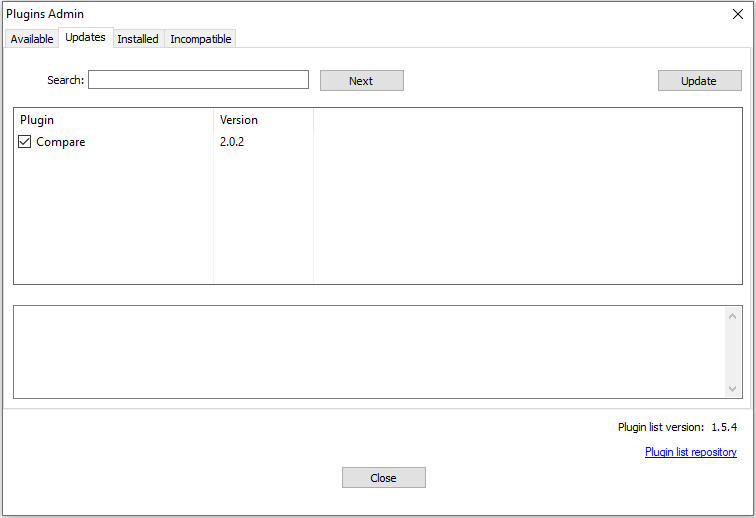
- Updates – This tab shows a list of the plugin available to Update.
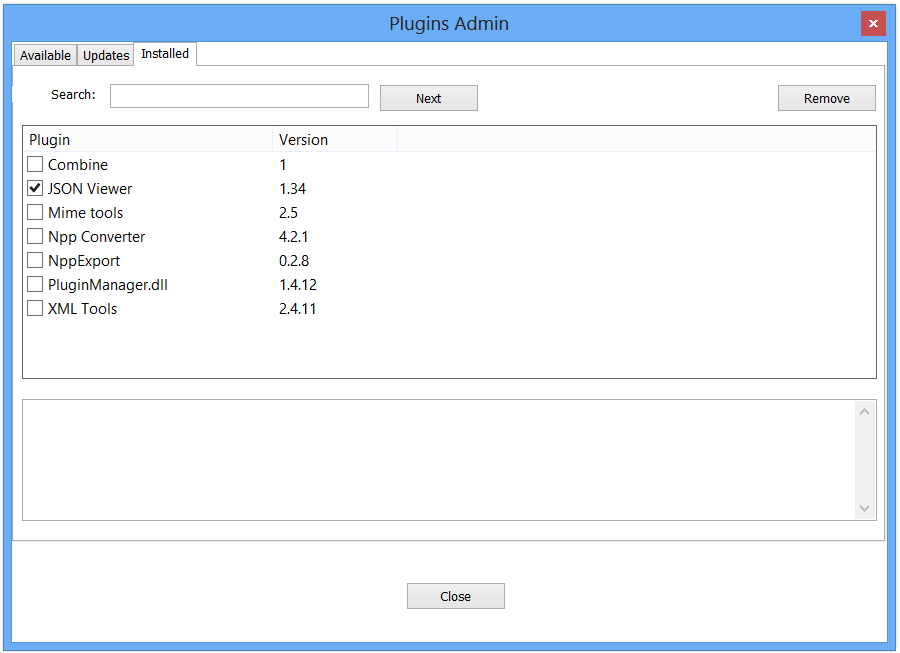
- Installed – This tab shows a list of the plugin Installed.
There is a search box as well which you can use to search the plugin. Just enter some characters and the plugin displays a matching plugin.
How to use Plugin Admin
Now, let’s see how to use Plugin Admin. It is very easy. You just need to search and select the plugin and click the install, update or remove button for the respective task.
Note:- You need admin access on the desktop as plugin files are copied/removed from the installation folder also make sure to save work before proceeding as this process restarts notepad++ after installation, update, and removal of the plugin.
1. Installing Plugin
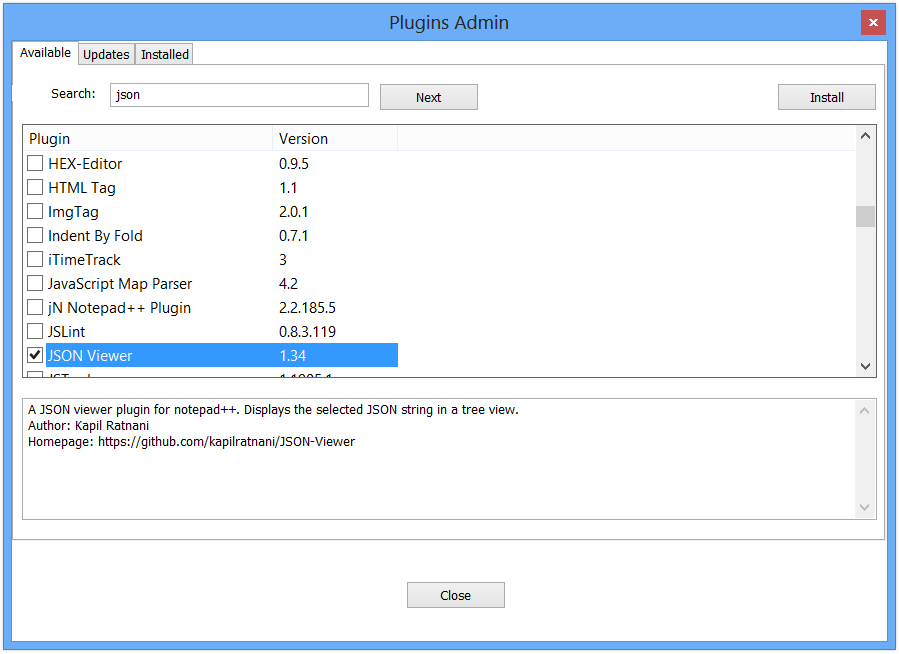
Start Notepad++ and go to Plugins-> Plugin Admin… menu. This opens the main dashboard (discussed above). Go to the available tab. Search and select the required plugin let’s say Json Viewer Plugin and click the Install Button.
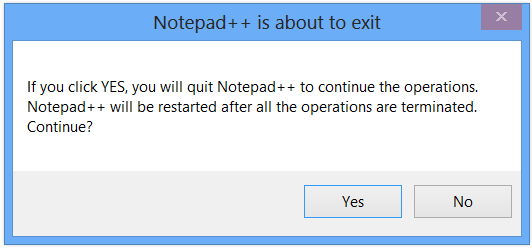
Notepad++ gives the below message. Click on the Yes Button to continue installation or the No button to exit.
Plugin admin downloads and installs the plugin and then restarts Notepad++. Everything happens in the background.
JSON Viewer Plugin should be available under the Plugins menu as shown below when Notepad++ restarts.

You can use this method for any other plugin and quickly add it to Notepad++.
2. Updating Plugin
Launch Notepad++ and go to plugins-> Plugin Admin… menu. Go to the Updates tab. Here, you will find a list of all the plugins where an update is available. The Search box works here as well. Just Search and Select the required plugin and hit the update button.
Click on the Yes Button for the below popup.
The plugin admin downloads the update for the plugin and updates the plugin and restarts the Notepoad++.
3. Removing Plugin
Go to Plugin Admin and search and select the plugin which you want to remove. You can use the search option here as well if you have many plugins installed. Click the remove button.
Click the Yes to continue on the below popup.
The plugin admin uninstalls the plugin and restarts Notepad++. Now you can see the respective plugin is removed. It deletes all the files from the plugin installation folder as well.
Summary
Plugin Admin provides an easy-to-use way to install, update and remove the plugin from Notepad++. You can always install the old Plugin Manager using the method mentioned here in this article.
I hope you liked this article. Please share and subscribe.
Check the below discussion on Notepad++ forums for additional information