Apache (HTTP Server), MySQL or MariaDB, and PHP are the minimum required tools to start a Web Application Development on Local Desktop. These tools are open source and work on Windows, Linux, and Mac operating systems. You can install these independently but it would be time-consuming and difficult to maintain.
There are tools available like XAMPP, WAMP, LAMP, MAMP which package all these together to make your job easy. WAMP Server is such package available for Microsoft Windows.
Pre-requisite
Basic software installation knowledge on Microsoft Windows Operating System.
Software/Hardware
- Microsoft Windows 7, Windows 8, Windows 10
- WAMP Server
Wamp Server
WAMP is an abbreviated name for Windows, Apache, MySQL, PHP. It provides Apache, MySQL, and PHP software stack on Windows Operating System. It is available only for the Windows platform ( 32 bit and 64 bit), unlike XAMPP which is cross-platform and available for Windows, Linux, and MAC operating systems.
Note:- wamp for Linux and Mac does not exist. You should use XAMP, LAMP, MAMP for the respective operating system.
Features ( Source – Official Page),
- Manage your Apache, MySQL, and MariaDB services
- Install and switch Apache, MySQL, MariaDB, and PHP releases
- Manage your servers settings
- Access your logs
- Access your settings files
- Create alias
- Use VirtualHost as hosters
Before moving further with installation read the below points carefully.
- Wampserver 3 does not support Windows XP even SP3.
- Wampserver requires a disk or formatted NTFS partition. Does not support FAT32 or exFAT
- Make sure you are “up to date” in the redistributable packages VC9, VC10, VC11, VC13, VC14, and VC15
- Do not install Wampserver OVER an existing version
- Install Wampserver in a folder at the root of a disk, for example, C:\wamp or D:\wamp. Take an installation path that does not include spaces or diacritics
- Install Wampserver “as an administrator” i.e Right-Click on the installer file then Run as an administrator.
- Close Skype or force not to use port 80
You can read this forum article to better understand the prerequisite.
Wamp Server Download
WampServer is available for free (under GPML license). Click this link to download the latest version from the official site.
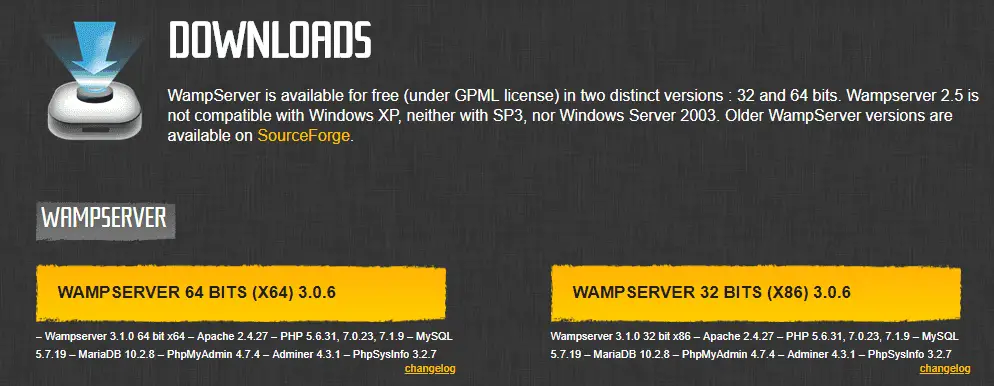
This page always shows the latest release which is 3.1.0 at the time of writing this article. Always download the latest WAMP Server.
The latest version provides below tools,
- Apache 2.4.27
- PHP 5.6.31, 7.0.23, 7.1.9
- MySQL 5.7.19
- MariaDB 10.2.8
- PhpMyAdmin 4.7.4
- Adminer 4.3.1
- PhpSysInfo 3.2.7
Use the below links to download the individual file.
64 bit download – Use this installer if your desktop is 64 bit.
32 bit download – Use this installer if your desktop is 64 bit or 32 bit, should work on both.
Install WampServer
Now let’s see how to install Wamp Server. This is a wizard-driven installation. It provides steps by step instructions with default options. Don’t change it unless you know what you are doing.
Let’s start……….
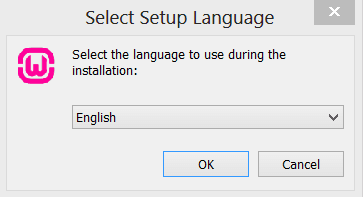
Step 1 – Select Setup Language
Double-click on the downloaded file to start the installation. Wamp supports English and Francisca only. I am going to choose English. Choose as per your preference and click Ok.
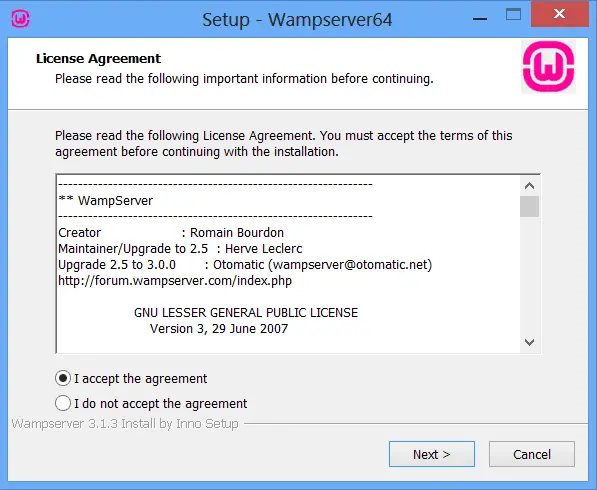
Step 2 – License Agreement
It is available for free. Go through the terms mention in the License Agreement windows. Click the I accept the Agreement check box at the end of the screen.
Click next.
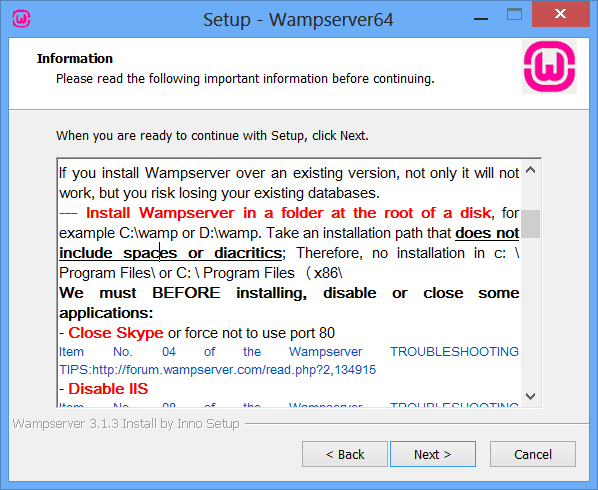
Step 3: Read Information
Read the instruction given below carefully. This provides some useful information about wamp installation and usage.
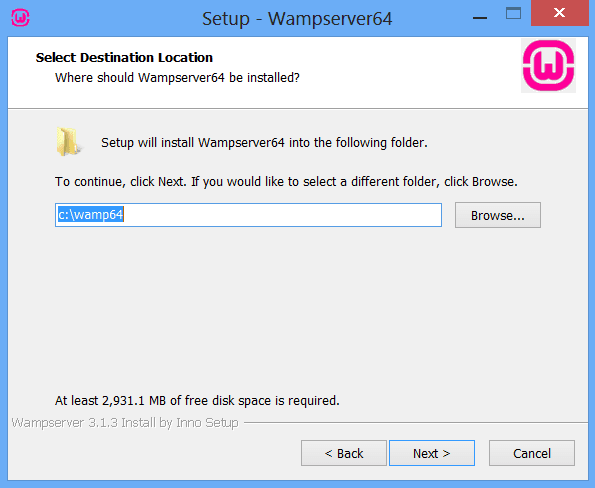
Step 4 – Select destination location
Next, choose the destination location. The default is wamp64. You can change it if you want, but make sure there is no space in a folder name.
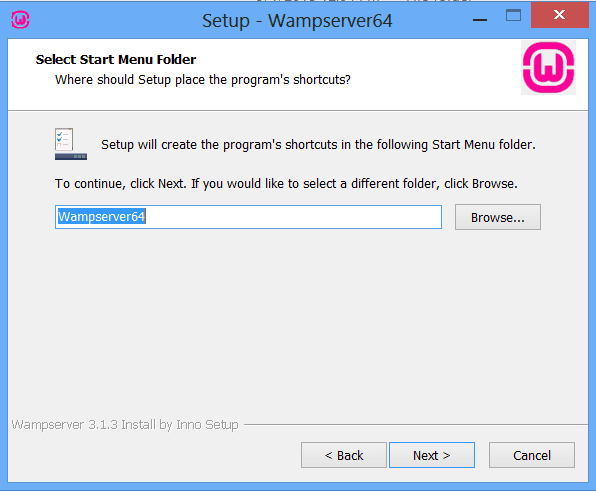
Step 5 – Start menu folder
Select start menu folder where setup should create the program’s shortcuts. It also defaults to Wampserver64. You can change it if you want to have a different folder
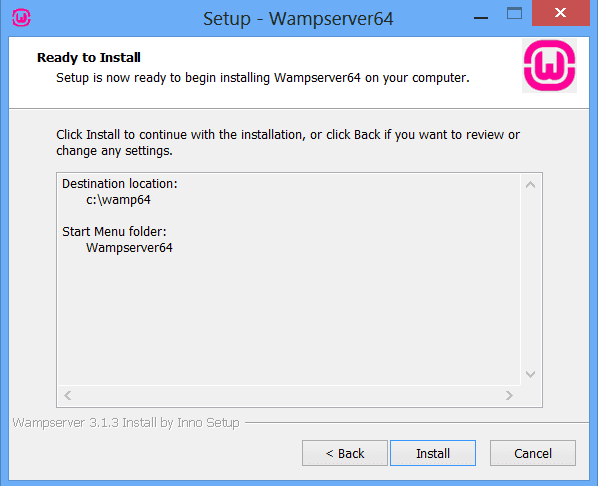
Step 6 – Ready to install
Next, the screen lists down all the selected options by you like the Destination Location and Start Menu folder. This is the last chance to change it. Hit the Back button if you want to change it else click the Install button.
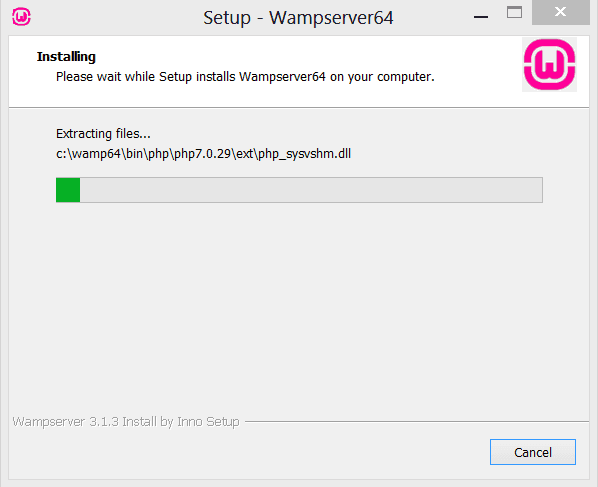
Step 7 – Installation Starts
The installer extracts and copies all necessary files to your system.
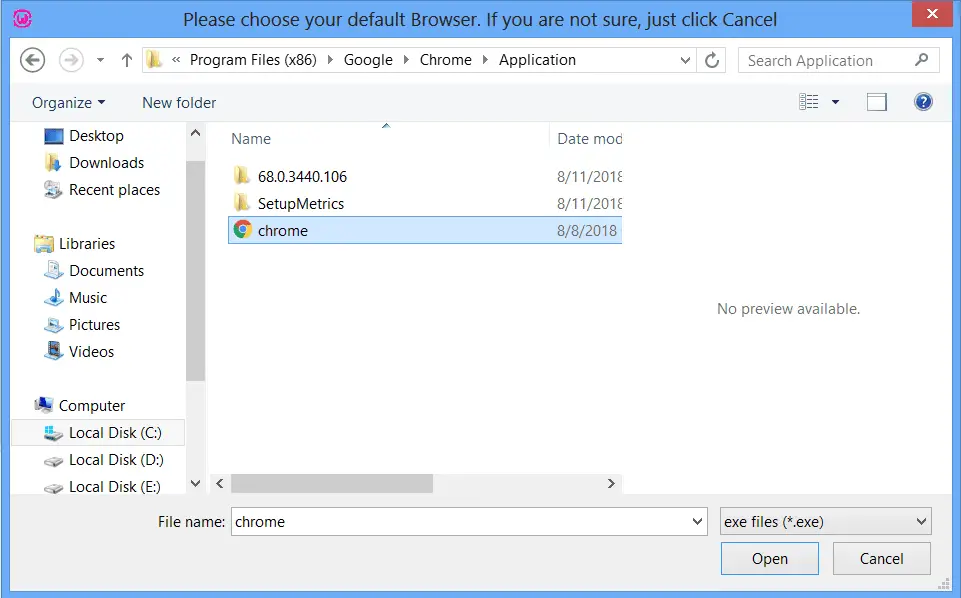
Step 8 – default browser
wamp uses the Internet as a default browser. Installer asks if you want to change some other browser like Chrome, Safari, etc.
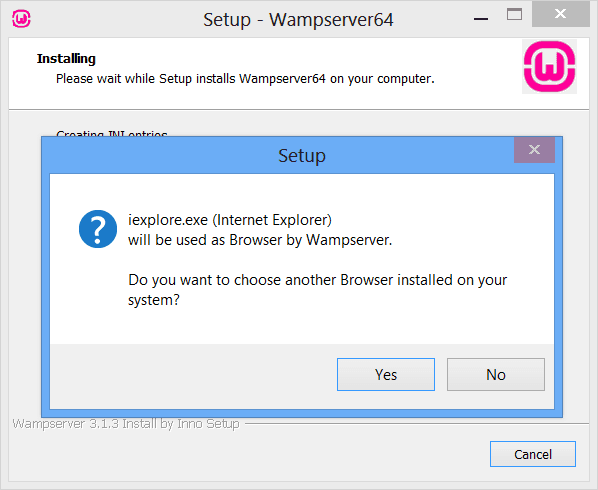
If yes, just browse and select the browser.
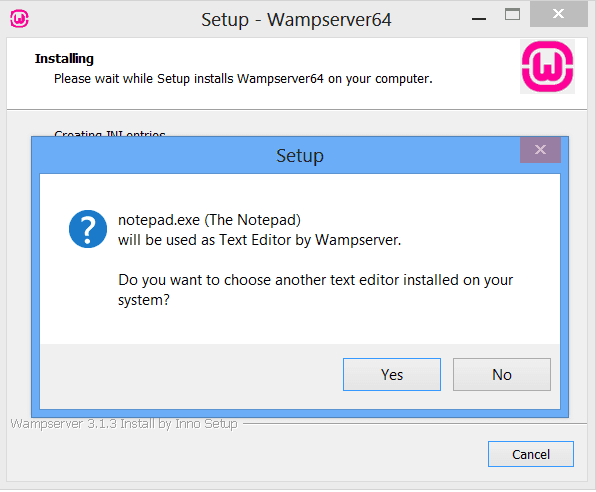
Step 9 – default text editor
Notepad is a default text editor. Change it if you want.
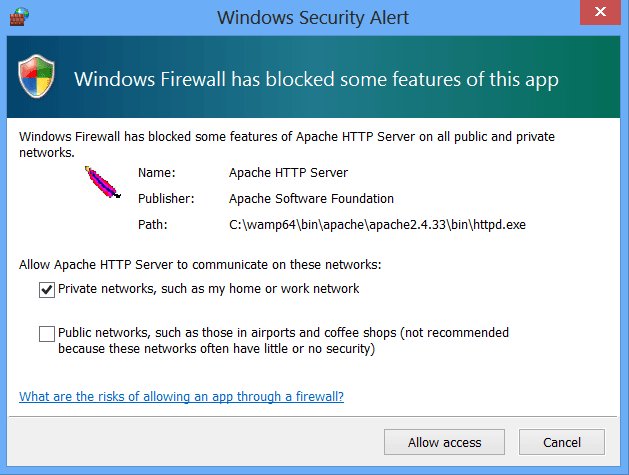
Step 10 – Firewall warning
The firewall blocks some of the features of the Apache HTTP Server and provides you an option to select the private and public networks.
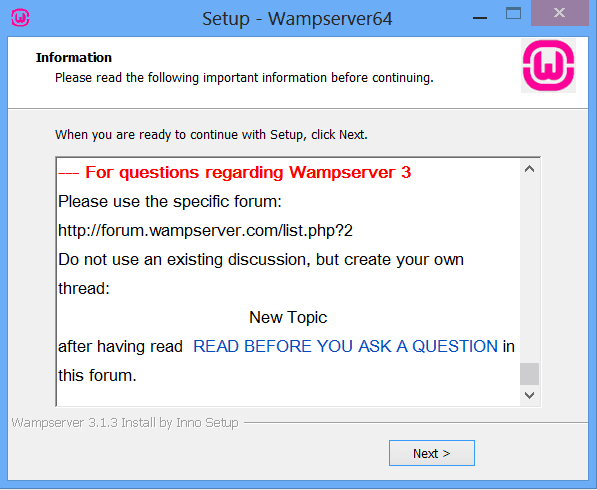
Step 11 – Information
Just read the following information.
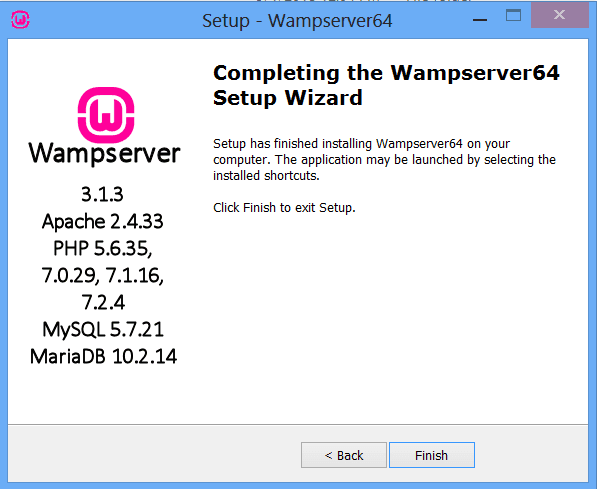
Step 12 – Setup completes
Setup completes within some time. Click the Finish button.
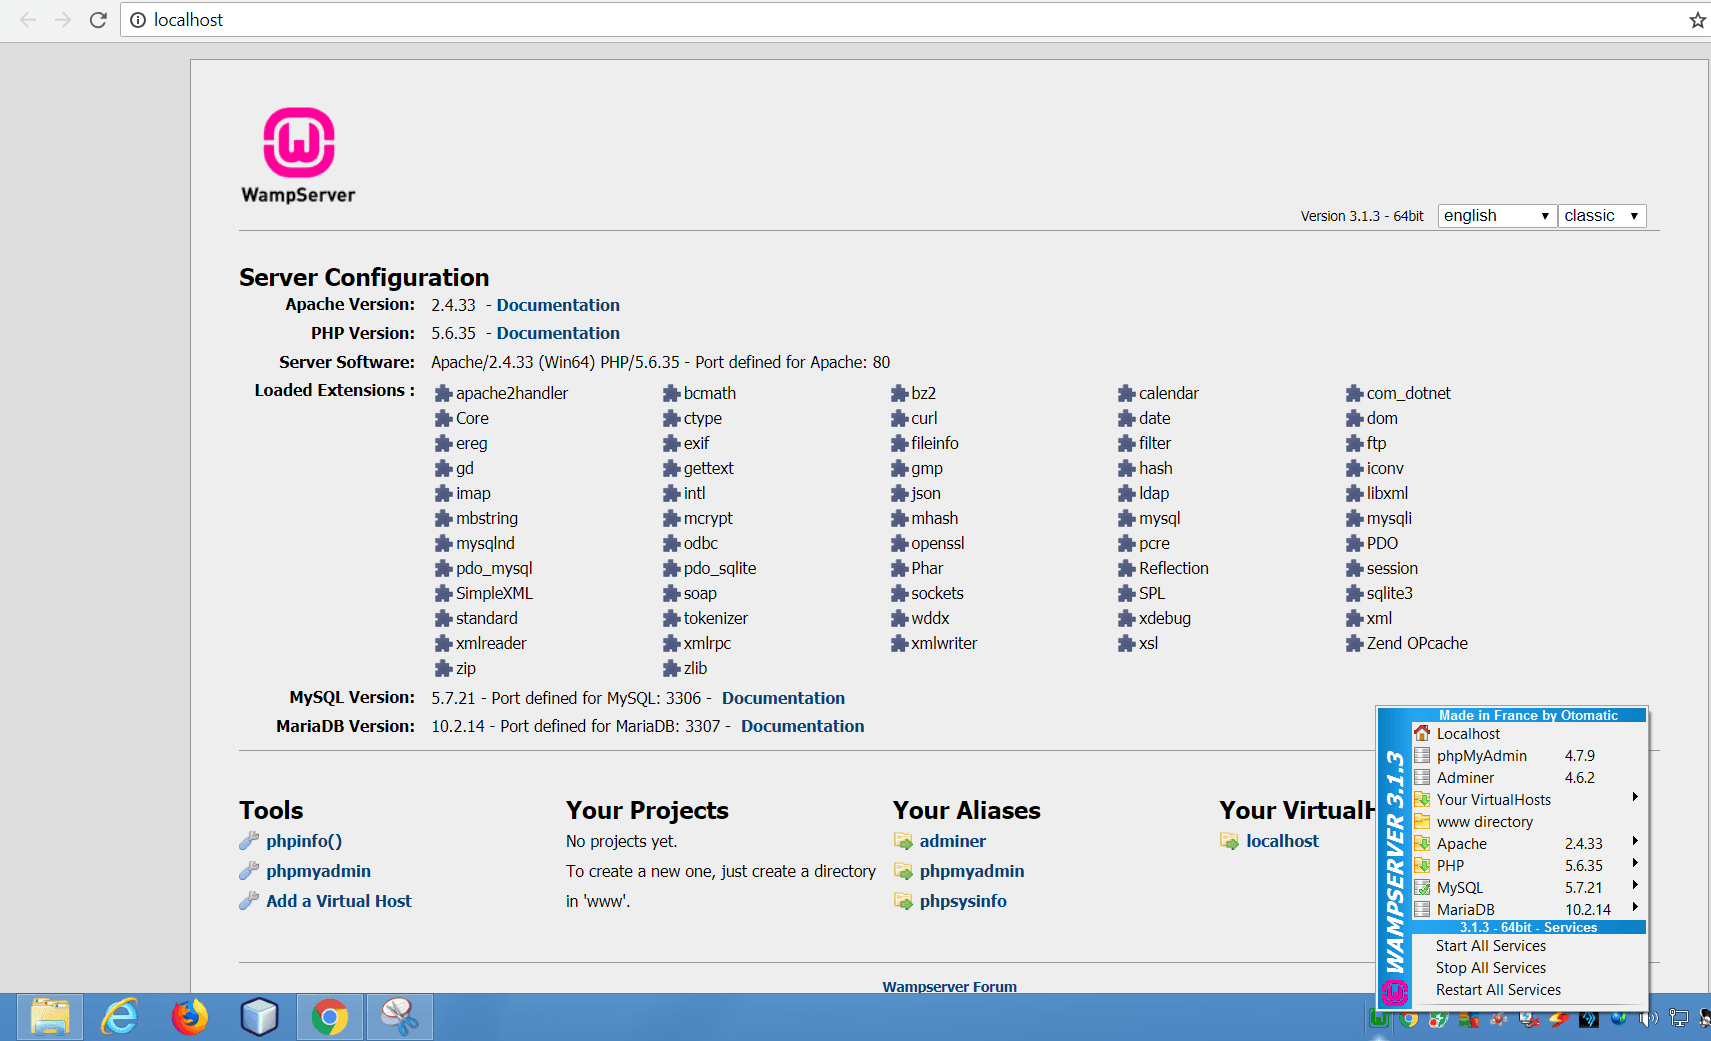
Using Wampserver
Just type localhost in the internet browser. This opens the interface as shown below. Using the small icon at the taskbar, you can control Apache, PHP, MySQL and MariaDB extensions.
Explaining everything about it is beyond the scope of this article, but it is easy and you yourself can explore it.
Summary
Installing the WAMP server on Windows is a straightforward process that can greatly facilitate your web development efforts. This powerful stack, comprising Windows, Apache, MySQL, and PHP, provides an all-in-one solution for hosting dynamic web content locally.
However, remember to follow each step carefully and check system requirements to ensure a successful installation. Once installed, you’ll have a robust platform to build and test your web applications right on your local machine.
Happy developing!
I hope you found this article helpful.
Do let me know if you face any issues with WampServer Installation. You can also ask a question on the wamp forum.