
PuTTY is a free and open-source SSH and Telnet client for the Windows. It is originally developed by Simon Tatham and now supported by a group of volunteers. This terminal emulator helps to access server over a network remotely using the secure shell (ssh) protocol.
In this guide, we will walk through:
- Downloading and installing PuTTY
- Configuring PuTTY for remote access
- Connecting to a server via SSH
Let’s dive in!
What is PuTTY? Key Features and Benefits
PuTTY is widely used by system administrators and developers for managing remote servers. It supports various connection types and protocols, making it a popular choice for secure remote access.
Key features of Putty,
- Open source available with source code
- Lightweight and fast
- Supports Raw, Telnet, Rlogin, SSH, Serial protocol
- Putty Port for Linux and Mac is also available
- Support session logging
- Supports X11 forwarding
In this article, we will see how to install and use putty in Windows.
Download Putty
Visit this page to download the latest version of Putty.
This page contains up-to-date links to download Windows MSI Installer, Binary Files, Documentation, Source Code, and Checksum files.
- MSI (‘Windows Installer’) – This is a standard Windows MSI installer. Choose either 32-bit (
putty-0.70-installer.msi)or 64-bit (putty-64bit-0.70-installer.msi)depending on the Operating System configuration. If you are not sure about the operating system, simply use 32-bit, it should work with all operating systems. - Unix Source Archives – This is .tar.gz archive for Unix operating system. You can either use it to modify or compile it. This should work on Ubuntu, RedHat, CentOS, or any flavor of Linux OS.
- Alternative binary files – These are .exe binary files for putty, pscp, psftp, puttytel, plink, pageant, puttygen. Just download and use it. No need to install it.
- Documentation – Documentation is available in HTML, Zipped HTML, Plan Text, Windows HTML Help, Legacy Windows Help, and Windows Help Contents.
There is no need to install Putty if you directly download the .exe file. For the Windows MSI installer, follow below steps to have Putty on Windows.
These instructions should work on Windows 8 and 10.
Install PuTTY on Windows
Click on the downloaded .msi installer file to start the installation. This is a wizard-driven installation where the installer presents some screens with default options. Just select and click Next.
Let’s get started.
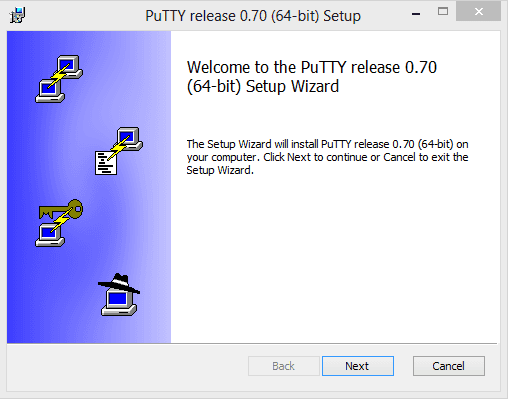
1. Start Installation
Installer welcomes screen. Click Next.
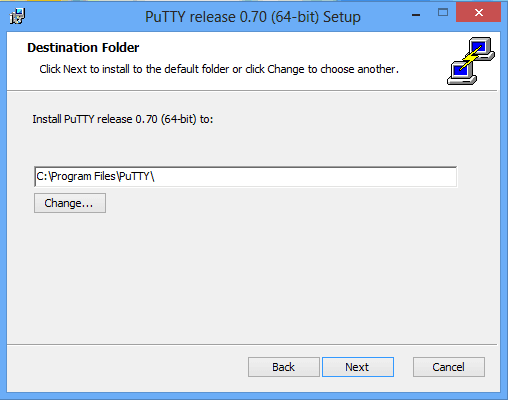
2. Choose the Destination Folder
Choose the destination folder. It defaults to c:\Program File\PuTTY\. You can change it if required. Just click on the Change button and select the folder.
3. Choose Product Features and click install
Choose the features you want to install. I have also selected Add shortcut to Putty on the Desktop option. This creates a shortcut to a quick launch.
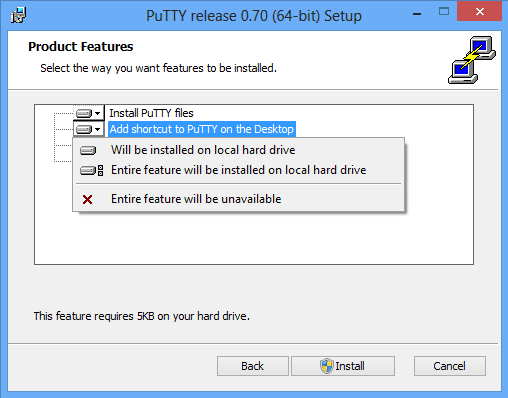
Click the Install button and the installation should start.
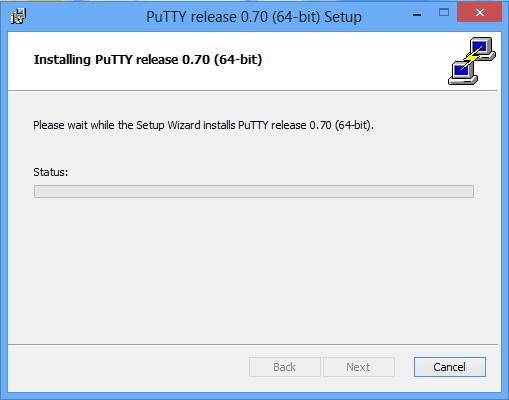
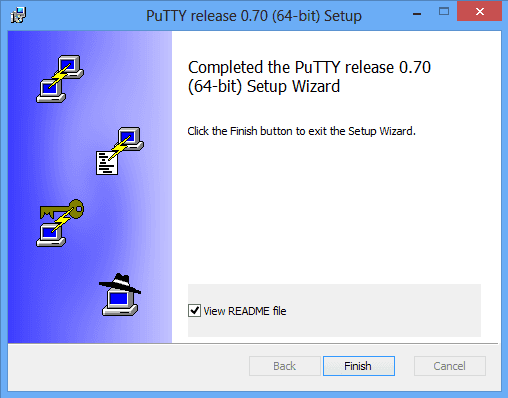
4. Complete Installation
Installation is quick and you get Completed the Putty release 0.70 (64-bit) Setup Wizard message. Check/uncheck the View README file checkbox if you like to read it.
Click the Finish button.
5. Launch Putty
Just go to Windows->Search->Putty to launch it. Below is the GUI window.
Configure PuTTY
There are many options available to configure in Putty but let’s cover only the basic minimum required configuration.
Category – Configuration option for categories like session, Terminal, Window, and Connection
Host Name (or IP address) – This is the remote server IP address or Host Name. Check with the network admin/DBA for this information.
Connection Type – This is the connection protocol. Putty Support below connection type,
- Raw
- Telnet
- Rlogin
- SSH
- Serial
Port – Communication port number. This defaults as you change the connection type. Each protocol uses some port to communicate to the remote server.
Default Port number for different connection type.
| Connection Type | Default Port |
| RAW | None |
| Telnet | 23 |
| SSH | 22 |
| Rlogin | 513 |
| Serial | No-Port Applicable |
Note: Do not change the default port numbers.
Saved Session – Here you can enter a user-defined name to save the connection details.
Control Button –
- Load:- This loads existing save the connection.
- Save:- Saves connection type
- Delete:- Deletes connection type
- Open:- Opens a connection to the server
- Cancel:- Close the putty window.
Use Putty to connect remote server
1. Click the Putty shortcut to launch the program.
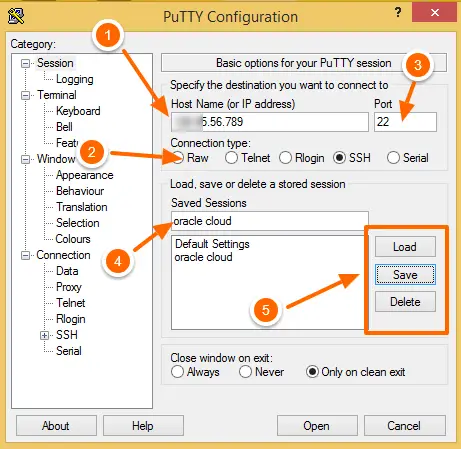
2. Enter the Hostname or IP Address (1) of the remote server. You can select any connection type (2). I am choosing SSH. Port (3) gets defaulted as 22. It is the default port for SSH. Do not change it, unless your admin has changed the port.
3. In the saved session (4) box, enter a valid easy remember the name and click on Save (5) button. This saves the connection details like hostname, and connection type so that you can later use the load (5) button to reload the same connection. No need to remember all the information.
4. Click on the open button
5. You should get the below message if you are connecting to a remote server for the first time. RSA and connection details Putty saves in Windows Registry and uses the same for future connections.
Just click on Yes and done.

You will see a black screen where you can enter the username and password for authentication.
That’s it and you are connected to a remote Unix/Linux system.
If you encounter any problems while connecting, consider these solutions:
- Connection errors – check your network connection, server address, and port number.
- Authentication failures – verify your username, password, or SSH key.
You can also consult the event log (right-click on the title bar and select “Event Log”) for more information.
Summary
You now have a basic understanding of how to install and use PuTTY on Windows. Don’t hesitate to explore more of features to improve your remote server management experience
I hope you like this article. You can refer to the below links for further reading