As a Blogger you take multiple screenshots for the article, right?
You use Print Screen keyword button to take the screenshot of the entire screen. Then use Microsoft paint to crop and edit it. There are also third-party free and paid tools like the awesome screenshot, Snagit, etc. also available in the market to choose from with good feature. Instead, I would recommend this snipping tool if your only requirement is to take quick snips.
Snipping Tool is very handy and easy to use to take the screenshot. I am sure you will love it…..!!!
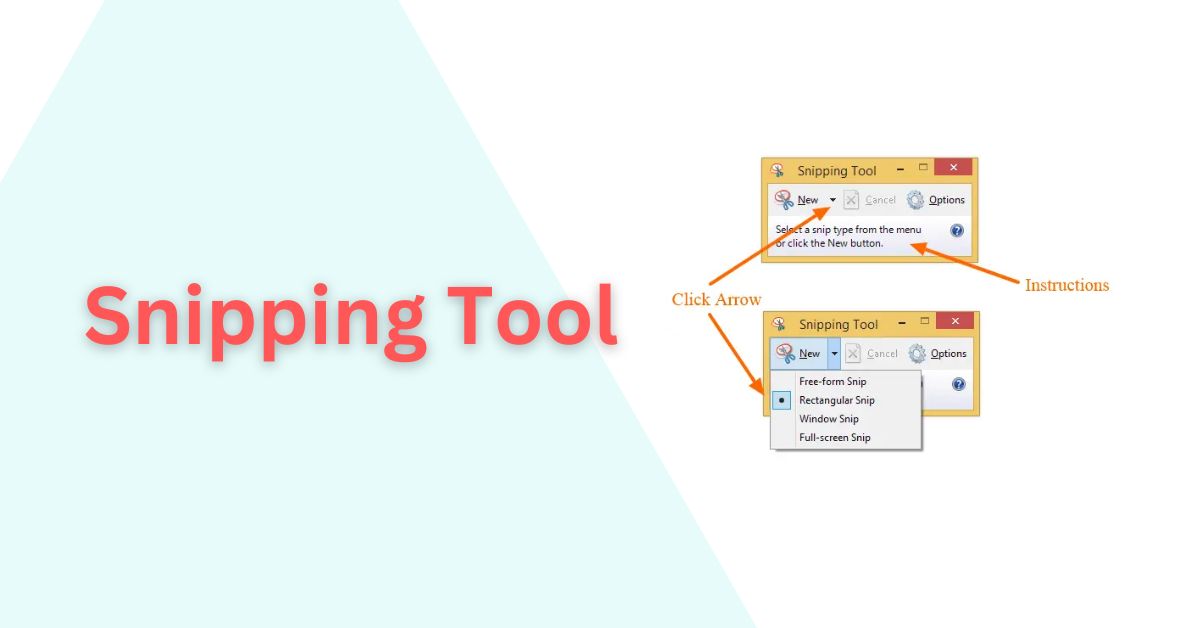
Windows Snipping Tool
Windows Snipping Tool is a default program in Windows Vista, Windows 8/8.1 and Windows 10 to take the screenshot. It is a free and basic tool which allows you to take a Free-form Snip, Rectangular Snip, Window Snip, and Full-screen snip and add basic annotation and modification.
No need to install the Windows Snipping tool. It is available by default. Use the below method to start,
- Click on Windows Start Button
- Search for snipping tool.
- Click to open it
Below is the interface of snipping tool,
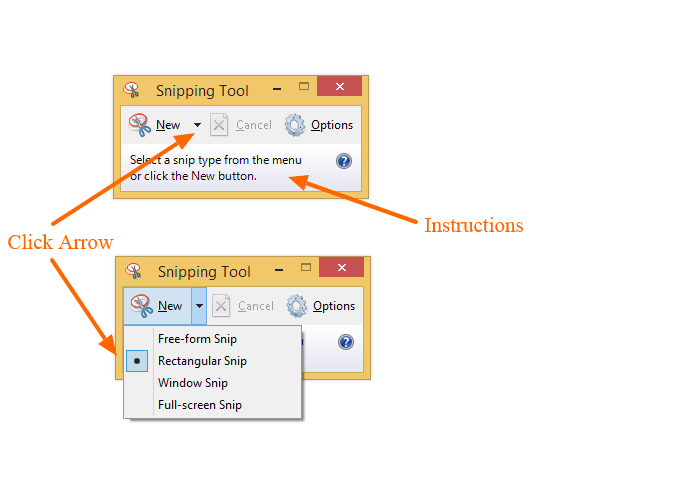
Snipping Tool Toolbar Explained in Details
This small toolbar provides the option to take snip with 3 command buttons New, Cancel and Options.
New Button – New is a drop box. Click on the arrow to see additional options.
- Free-form snip – this allows you to take a free-form snip. Click on it and it will open a Free form selection. Highlight and select the required area in the shape you want.
- Rectangular snip – This allows you to take snip in rectangular form.
- Window snip – This allows you to take a snip of the active window.
- Full-screen snip – Capture entire screen.
Cancel – This cancels the snipping operation
Options – Click this menu and it opens a small option box as shown below.
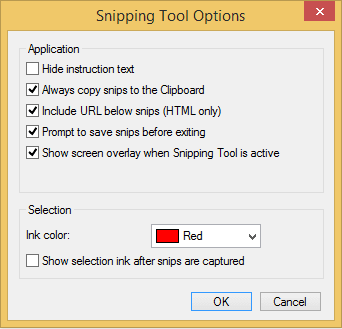
- Hide instruction text – These options hide the instruction text shown on the main toolbar.
- Always copy snips to Clipboard
- Include URL below snips (HTML only)
- Prompt to save snips before exiting
- Show screen overlay when Snipping Tool is active.
- Ink Color
- Show Selection ink after snips are captured
Use the snipping tool
Let’s walk through the process of selecting the desired snip type, capturing the perfect screenshot, and editing or annotating images for optimal communication and sharing.
1. Take Snip
Let’s see how to use the snipping tool. Just start snipping tool and click on new. I am selecting a rectangular snip. As soon as you click New and overlay covers the screen.
Select the required portion of the screen using the mouse pointer and release it. It captures the selected portion and opens in a window as shown below.

This window you can use to do basic annotation.
2. Annotate the snip
After complete the snip, it opens a window with a snip. This window allows you to do basic edition and annotating the snip.

You can use Pen and Highlighter to highlight the respective portion. Eraser allows you to erase the annotations. Note it does not erase anything on the main image.
Post editing you can either save the snip or email it using send button in the toolbar. You can save snip as PNG, GIF, JPE or HTML type.
You can also use edit- copy to copy snip to the clipboard and paste it any other application.
Summary
If you are only looking to take a snip and do basic annotation, Windows snipping tool is a best and easy to use option.
Do let me know which tool you use to take snip in the comments section below?
Read more at – Microsoft Support – Use Snipping Tool to capture screenshots